Installation / Setup
Step 1 : JetBrains account creation
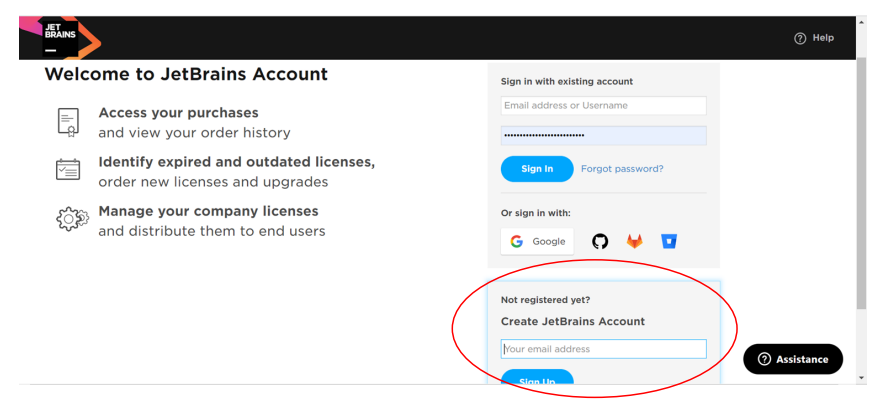
- Signup with your student or professionnal email address on this Link.
-
Complete your profile using the confirmation email from JetBrains: enter your details (name, first name, etc.), then Accept.
-
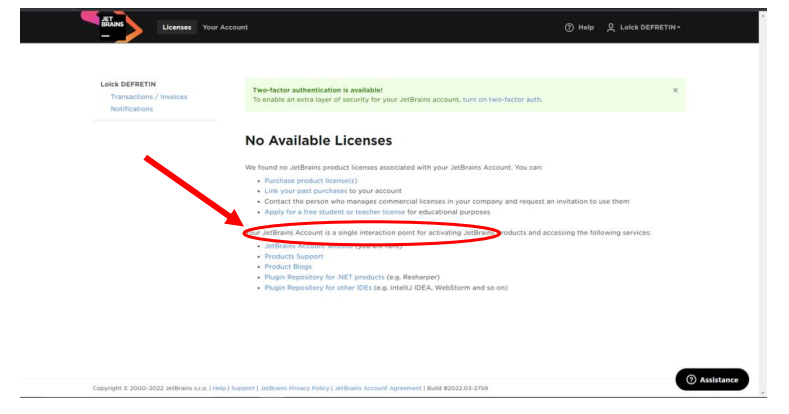
Then click on 'Apply for a free student or teacher license' to obtain an educational license.
-
By clicking on the link, a new page will appear. Scroll down and click on the 'Apply now' button.
-
Fill out the form that appears.
-
To finalize the account creation, click on the link received by email.
-
There you go, you have your license!
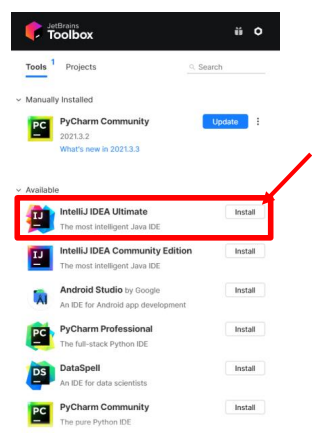
Step 2 : Download Intelij IDEA Ultimate Toolbox
- Toolbox installation
- Download the toolbox from this Link
- Start Toolbox
- Download Intelij IDEA Ultimate
- Double-click on the Toolbox logo (which should appear in the taskbar on the right).

- From the Toolbox, install Intelij IDEA Ultimate
-
Wait until the installation finish.
-
Once the installation is finished, you could follow the next steps.
Step 3 : Configure Intelij IDEA Ultimate
Global configuration
-
During the first installation, you will not have any pre-configuration. Click on 'Do not import settings' and then 'OK'.
-
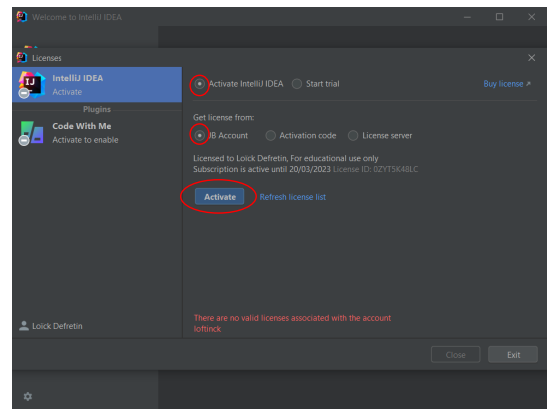
Click on 'Activate' to link your JetBrains license to the application.
-
A message will appear to confirm the activation of the license. Click on 'Close'.
- The main IntelliJ menu appears, general configuration completed
Step 4 (Optional): Configure Essential Plugins
To install new plugins, follow these steps:
-
Open Settings
-
Navigate to the Plugins section
-
Install the following recommended plugins:
- ✅ GitLab
- ✅ Python
- ✅ Node.js
- ✅ Vite
- ✅ Tailwind CSS
- ✅ Git
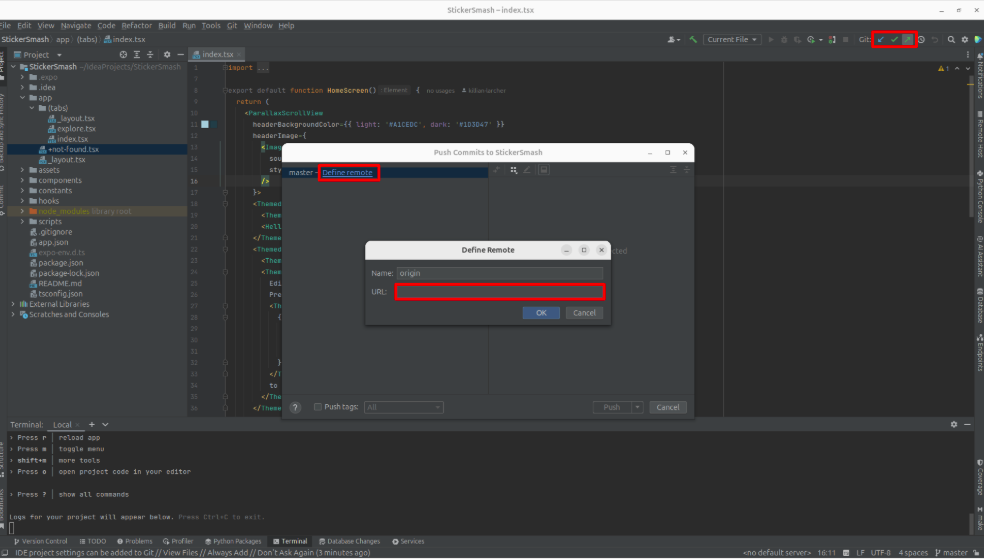
Step 5 (Optional): Connect Your GitHub / GitLab Account
To enable seamless version control, you’ll first need to link your GitHub or GitLab account in IntelliJ Settings.
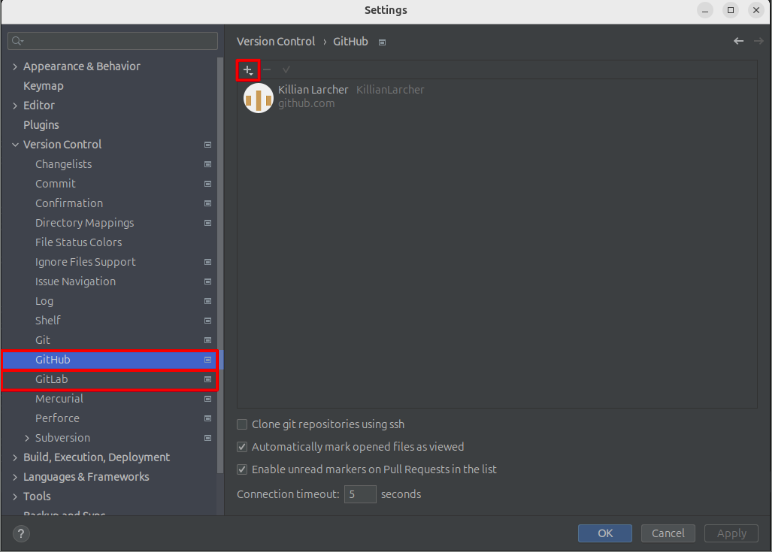
Once your account is connected, you’ll be able to push your code to a remote repository directly from IntelliJ.