React Native and Expo
This tutorial provides a comprehensive guide to getting started with React Native using Expo, from installation to building and deploying your first mobile app.
Introduction
React Native is a framework for building native mobile applications using JavaScript (or TypeScript) and React. It allows developers to write a single codebase that runs on both iOS and Android.
Expo is a set of tools and services built around React Native that simplifies development, testing, and deployment.
Prerequisites
Before starting, ensure you have:
- Node.js (v18+ recommended) (resources)
- npm or yarn
- A code editor (resources)
- A mobile device or emulator for testing
Setting Up the Environment
Install Expo CLI
npm install -g expo-cli
Verify Installation
expo --version
Install Expo Go App (for testing)
 Application Expo Go (iOS/Android)
Creating a New Expo Project
In your working directory execute the following command line to create your first project.
expo init my-first-app
Choose a template:
- blank – minimal setup
- blank (TypeScript) – minimal setup with TypeScript
- tabs – pre-configured navigation with tabs
Once finished downloading, navigate to the project:
cd my-first-app
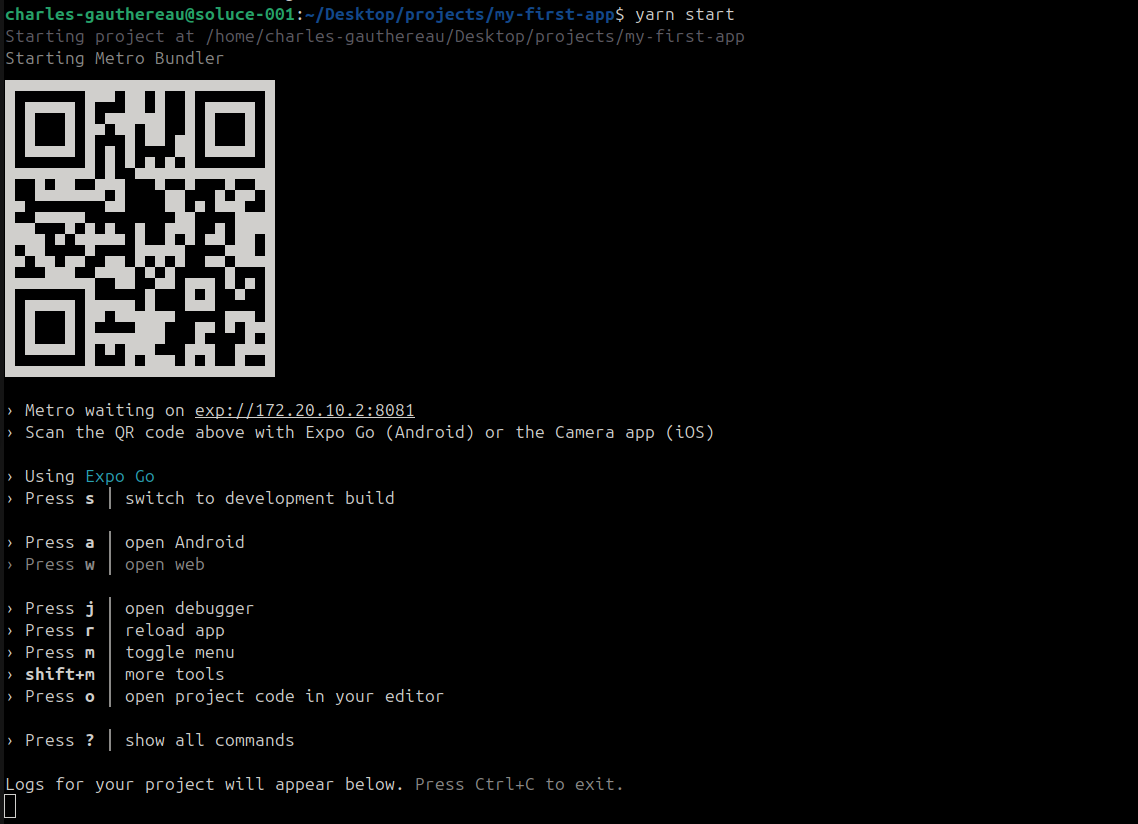
Then start the development server:
npm start
or
yarn start
Scan the QR code with Expo Go on your device or launch an emulator.
Project Structure
Typical structure of an Expo project:
my-first-app/
├── App.js          # Entry point
├── app.json        # Expo configuration
├── package.json    # Project dependencies
├── node_modules/   # Installed libraries
├── assets/         # Images, fonts, etc.
└── components/     # Custom components
References
- React Native Official Docs : https://reactnative.dev/docs/getting-started
- Expo Documentation : https://docs.expo.dev/